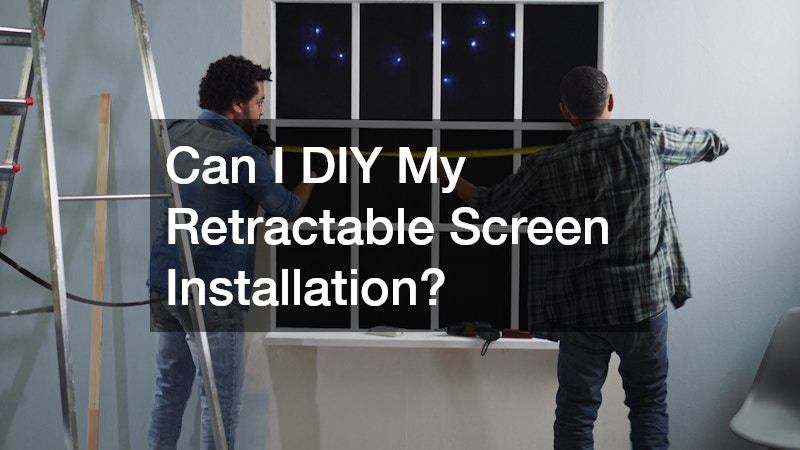
Installing retractable screens can be a rewarding DIY project, offering a blend of practical benefits and satisfaction. Whether it’s to keep pests out or to enjoy an unobstructed view with optimal airflow, retractable screens provide a versatile solution for homes. This article will guide you through the DIY process, from gathering necessary tools and materials to understanding the installation steps, and highlighting the advantages of undertaking this project yourself.
Homeowners are increasingly leaning towards DIY projects due to the flexibility and cost savings they offer. While hiring a professional can offer peace of mind, the satisfaction derived from a successful DIY project is unparalleled.
Retractable screens add value to your home by enhancing airflow and visibility, making this DIY project worth considering.
We’ll delve into the tools required, walk you through each installation step, discuss potential challenges you may face, and how to handle them effectively. By the end of this article, you should have a comprehensive understanding of how to install retractable screens on your own. Additionally, we’ll touch on the cost-effectiveness and the tangible benefits of opting for a DIY installation.
What Tools Do I Need?
A successful DIY project begins with the right tools at your disposal. For installing retractable screens, the basics include a measuring tape, a drill with bits, a screwdriver, and a hacksaw. Additionally, you might need a level, a pencil for marking positions, and a rubber mallet to ensure snug fittings without damage.
Many retractable screen kits come with specific components and additional tools required for installation, such as mounting brackets and screen pull handles. It’s advisable to check the kit instructions beforehand to confirm any unique tools the installation may require. Preparing these tools in advance can save time and help you focus on getting the job done efficiently.
While common home improvement tools are sufficient for most scenarios, ensure that your tools are in good condition. Organizing your tools near the installation area helps in maintaining a smooth workflow and minimizing interruptions. If any tools or additional items are missing, they are typically available at local hardware stores.
Step-by-Step Installation Process
Embarking on a DIY retractable screen installation requires understanding the step-by-step process involved. First, start by carefully measuring the doorway or window where the screens will be installed. Accurate measurements ensure that the screen fits correctly and operates smoothly.
After measurements are confirmed, begin assembling the frame components as specified in the kit instructions. Attach the mounting brackets securely using a drill and ensure that they are level for the screen to function properly. It’s crucial to follow each step precisely to avoid errors that could affect the functionality of the screen.
Finally, attach the screen to the frame and test its operation. Make any necessary adjustments to ensure smooth sliding and proper retracting of the screen. Completing this step successfully provides a sense of accomplishment and enhances your living space’s usability and aesthetic appeal.
Common Challenges and Solutions
Installing retractable screens can come with its own set of challenges, particularly for first-time DIY enthusiasts. A common issue is dealing with uneven surfaces where the screen needs to be mounted. This can lead to alignment problems, but using a level during installation can help mitigate this issue.
Another challenge is ensuring the screen rolls smoothly within the frame. This could be due to improper tension adjustment or misalignment during installation. Follow the tensioning instructions closely and adjust the screen tension if the sliding action is not smooth.
Finally, incorrect measurements can result in screens that don’t fit properly. Double-check all measurements before cutting or assembling components. If measurements are off, consult the kit instructions for potential adjustments or consider consulting an online guide for additional tips.
Cost Considerations
One of the primary motivations for choosing a DIY approach is cost savings. By installing the screens yourself, you eliminate labor costs, which can be a significant portion of the total expense if hiring professionals. The cost of retractable screen kits varies, allowing you to choose according to your budget.
However, it’s important to balance cost against quality. Opting for cheaper kits might save money upfront but could lead to additional costs if the materials are substandard and require frequent replacements. Thus, investing in a mid-range or high-quality screen kit can provide better durability and long-term savings.
Besides the direct costs, consider potential expenses for any additional tools or materials needed for the installation. If you already possess most tools, the expense is lower. However, if this requires purchasing new items, factor them into your overall budget to avoid financial surprises.
Benefits of DIY Retractable Screens
One of the foremost benefits of installing retractable screens yourself is the flexibility it provides. Working on your own schedule allows you to install at your pace without adhering to stricter timelines that hiring service might impose. This can be especially advantageous if you’re balancing multiple home improvement projects.
Moreover, the sense of pride and achievement from seeing your efforts manifest in a functional, aesthetically pleasing addition to your home is immensely rewarding. This project also enhances your skills, potentially unlocking the confidence to pursue further DIY challenges around the house.
Additionally, retractable screens can significantly boost your home’s value by improving both the aesthetics and functionality of your living spaces. By learning to install them, you gain a practical skill that can be reused in future projects, providing lasting value beyond the initial task.
From understanding which tools are needed to overcoming common installation challenges, you now have the information needed to complete this project successfully. The DIY approach not only offers cost savings but can significantly enhance your skill set and feelings of accomplishment.
Considering the many benefits of retractable screens, such as improving airflow and maintaining visual appeal, the effort invested in this DIY project can be highly rewarding. While some challenges are possible, preparation and guidance—as provided—to handle them will leave you well-equipped to manage the process.
Encouraged by the potential savings and the satisfaction of a job well done, embarking on this project can be both a practical and enriching experience. With this knowledge at your disposal, you’re ready to transform your living spaces with beautiful, functional retractable screens.